People dive for all kinds of reasons. To see pretty fish, explore mysterious wrecks, and caves, float like an astronaut or just to relax.
And then there are those who love to capture all these moments with a camera. Enter: Underwater photography.
There are so many things you can do in this area to enjoy the underwater world even more and getting started can be a little overwhelming.
That’s why we will take a deep dive together on everything underwater photography, cameras, lighting, photo techniques, and more.
You can read it from start to finish (but watch out, it’s a long guide) or only pick the points that interest you most.
Let’s dive right in!
What is underwater photography?
Underwater photography is a fun activity for scuba divers, snorkelers, freedivers, and anyone exploring the sea to capture their favorite moments underwater. Every time you take a camera device underwater and take photos or videos, you have already made the first step into underwater photography.
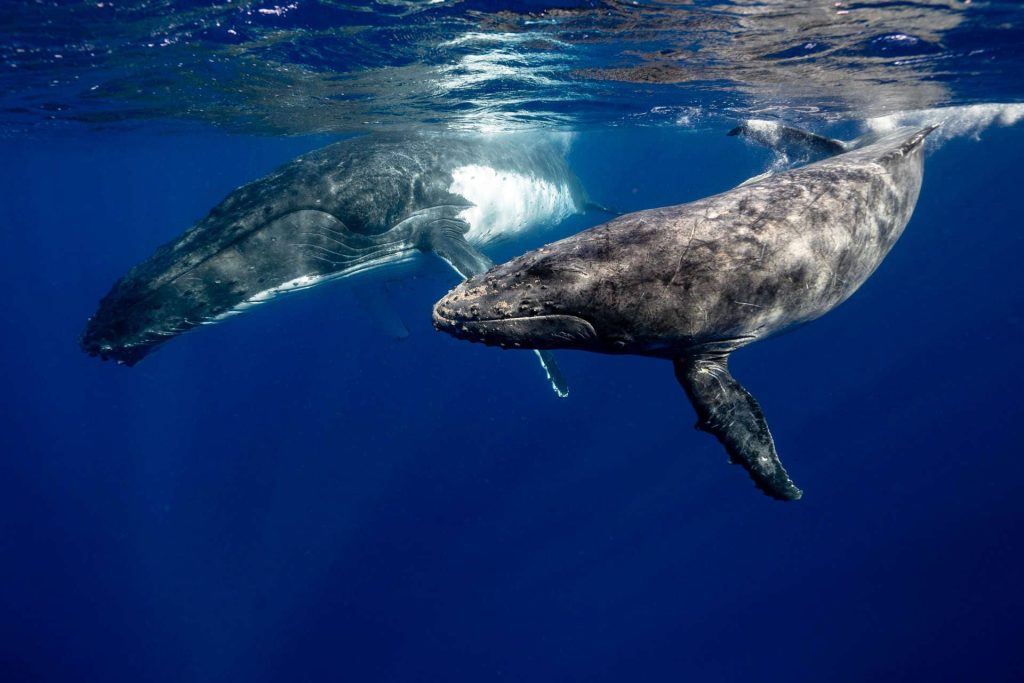
Of course, all underwater photography is not equal and there are big differences between professional photographers and those who just take their waterproof phones with them while snorkeling.
Let’s compare these quickly:
| Beginner | Intermediate | Professional | |
| Device | Waterproof phone or action camera | Underwater camera or camera in basic housing | DSLR or mirrorless camera in professional housing |
| Housing Type | None or waterproof phone case | Budget housing | Professional housing |
| Lighting | – | Underwater torch or lighting | Professional lightning |
| Purpose | Just for fun | For fun / Social media use | Professional campaigns / documentaries |
| Required diving skills | None – Beginner | Advanced | Expert |
| Required photography skills | – | Basics | Advanced |
| Budget | Low ($120-500) | Medium ($1,000-3,500) | High ($4,000+) |
As you can see, the goals and requirements for each level of underwater photography are very different. However, this is not a fixed list.
I have seen people take amazing underwater photos with their iPhones that look like they were made by a NatGeo professional, and GoPro videos that could be shown on Netflix.
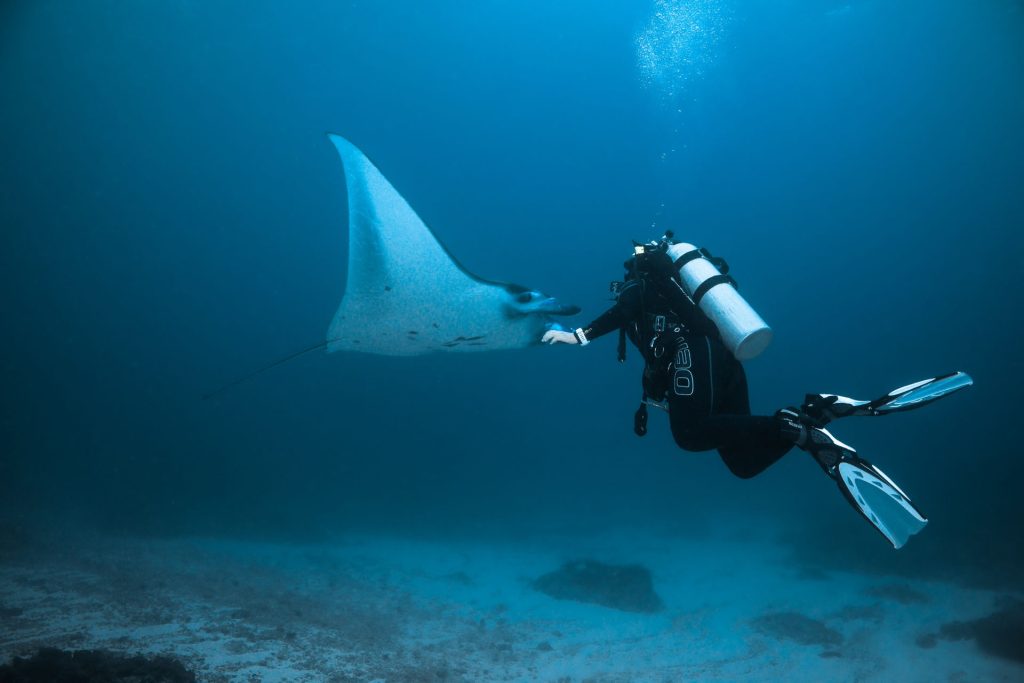
However, in the following, we are going to focus more on those wanting to take great underwater pictures and videos with actual cameras while scuba diving or freediving.
How to get started with underwater photography
You can start to take underwater photos and videos by simply taking a camera in a housing on your next dive and start capturing what you see. Read up on lighting and photography techniques, or take an underwater photography course that will teach you the basics.
You need five essential things to get started as an underwater photographer:
- Good diving equipment
- A camera (& lens)
- Waterproof housing
- Some kind of lighting
- Sufficient skills & knowledge
1 Good diving equipment
Whether you are a scuba diver or freediver, it all starts with the right equipment.
You don’t want to be underwater trying to take a great macro image of a nudibranch and then your scuba gear is not working properly. Or your freediving mask is leaking…
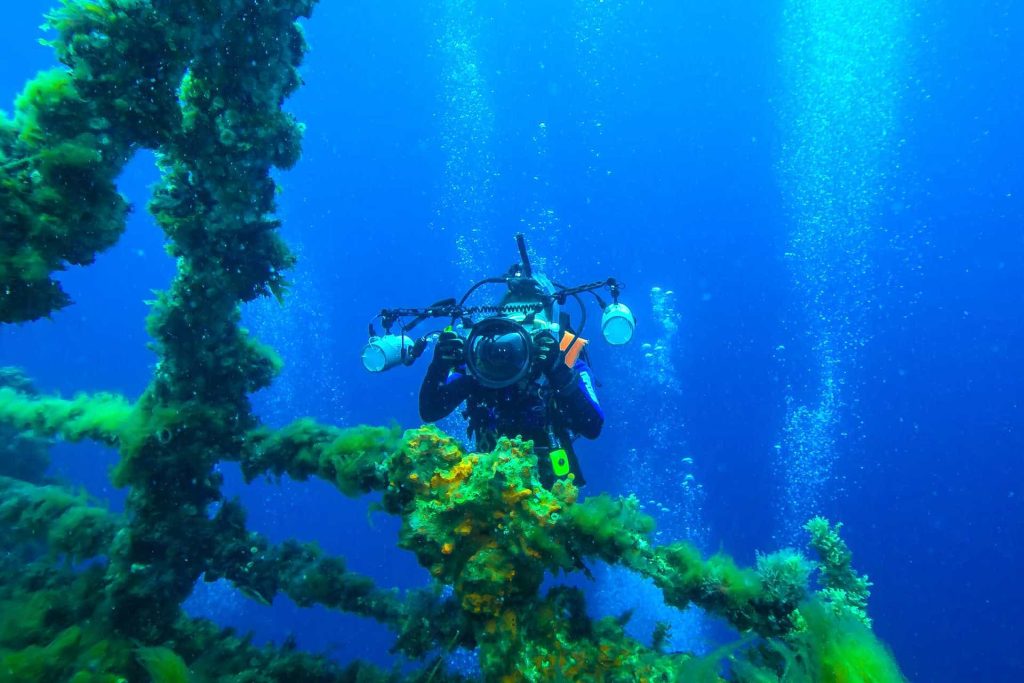
2 Underwater camera
Obviously, we need a camera that can take images underwater.
This can be an action camera like the GoPro Hero10, a waterproof camera like the Olympus TG-6, or a DSLR/mirrorless/compact camera in a housing like the Sony Alpha 7, or Olympus EM-1.
If you choose a system camera, the camera body and lens are separate, so you will need to buy one of each.
3 Waterproof housing
Waterproof housing protects your camera from water, pressure, and impact. It also serves as a hub to attach lighting, strobes, trim weights, and other items to.
While some cameras like the Olympus TG-6 are waterproof down to a certain depth, housing is a must for every underwater photographer.
4 Lighting
As you might know, underwater colors vanish the deeper we go. Red tones are gone within the first 5m/15ft, and by the time you get to 40m/120ft, mostly all blue/green/dark tones remain.
Lighting brings back the colors underwater and makes your images and videos “shine“.
You will need at least a flash (often built into the camera), but there are strobes, focus lights, torches, and more to look into.
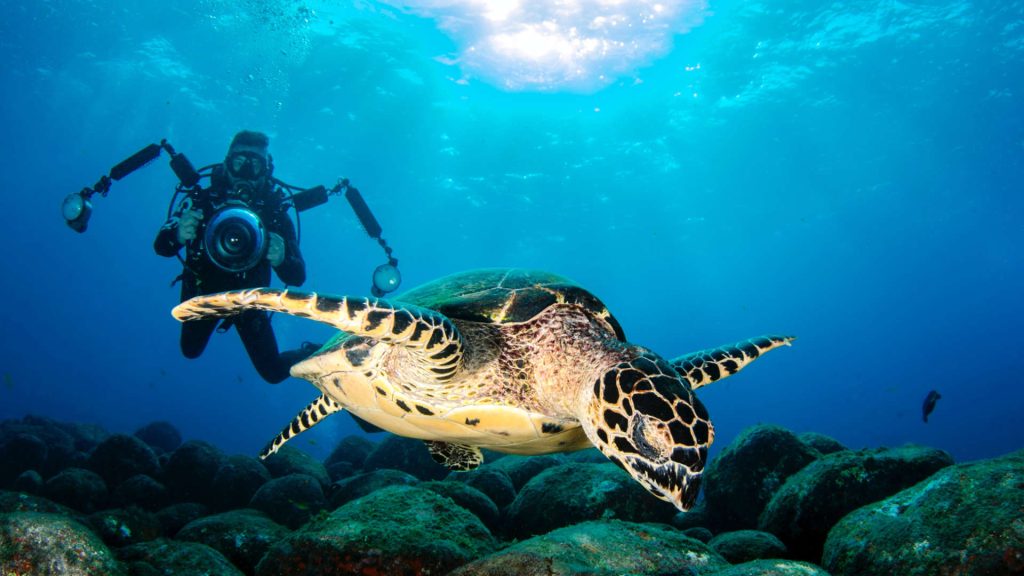
5 Sufficient skills & knowledge
To be a basic underwater photographer, you need basic diving and photography skills. To become a great one, you need to have excellent skills and knowledge about diving, photography in general, proper lighting, and know your equipment in and out.
As a recommendation, don’t start to get into more serious photography underwater until you have at least about 50 scuba dives under your belt, or at least 100 actual freedives.
You can also take an underwater photography course to learn from the pros!
What’s your goal?
Picking a goal can help you get started quicker. It could be to capture a certain animal on video or making prints of you diving at a famous dive site.
Underwater Photography Equipment
There is a plethora of equipment you can get to bring your underwater photos or videos to life, and the more experienced you get…the more gear you’ll buy. (It’s always like that…)
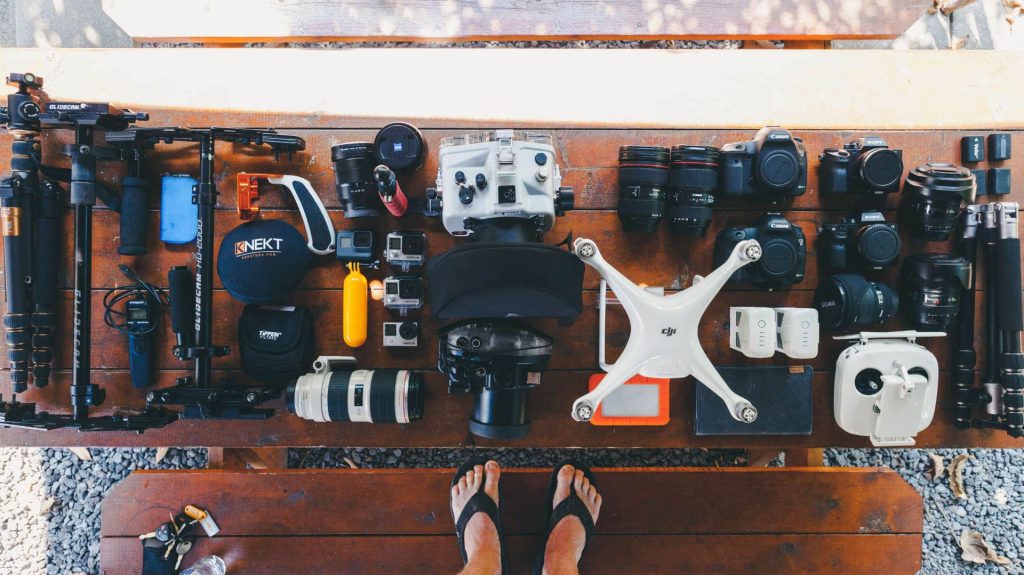
Let’s look at the (potential) components of a quality underwater photography setup:
- Camera / Camera body
- Housing
- Strobe or Flash
- Focus lights
- Lenses (macro, wide-angle, etc.)
- Lens ports & holders
- Fiber Optic cable
- O-Rings & extension rings
- Trays & carry handle
- Flex arms & tripods
- Buoyancy floats
- Trim weights
- …
Wheew…that’s a lot of parts here. Luckily, you do not need to buy all of this at once!
Depending on your camera choice (for example an action camera) you might get by with just the camera, and an inexpensive bundle that includes the housing, filters, and hand handle.
On the other hand, professional photographers might have several cameras with different lenses for each, and just as many options for strobes and more.
Set a budget
No matter what you do, always set a budget first and don’t exceed it by more than 10%! You don’t want to waste money that could have been spent on more diving instead.
Underwater Cameras
The term “underwater camera” can be a bit misleading, and many people think we exclusively use waterproof cameras underwater.
However, we get the best results by taking “normal” cameras like mirrorless or DSLRs and packing them in a waterproof housing. This way we combine the best image quality and features with the option to go underwater.
To read about underwater cameras in-depth, check out our full guide on underwater cameras!
These are the five most common types of cameras used for underwater photography:
- Action Cameras
- Waterproof Cameras
- Compact Cameras
- Mirrorless Camera
- DSLR
1 Action Cameras
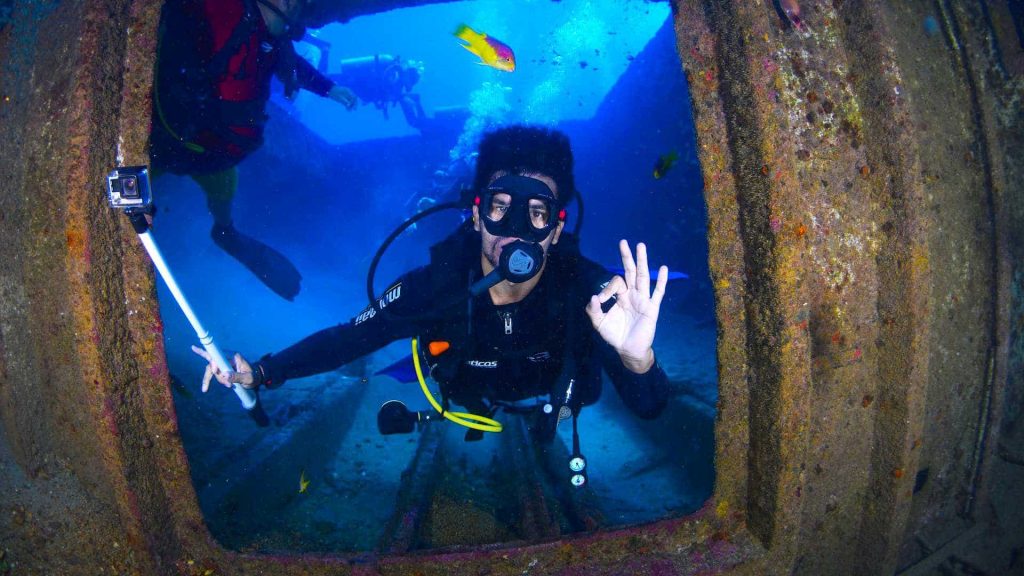
The easiest way to get started with taking photos and videos underwater is to buy an action camera. This is how most divers start out, and will work great for videos.
Pros
- Small, lightweight, and compact
- Great for video
- Cheap
- No skills required
Cons
- Focus purely on video
- Not for photos
- No lense options
- Not extendible
Recommendations:
2 Waterproof cameras
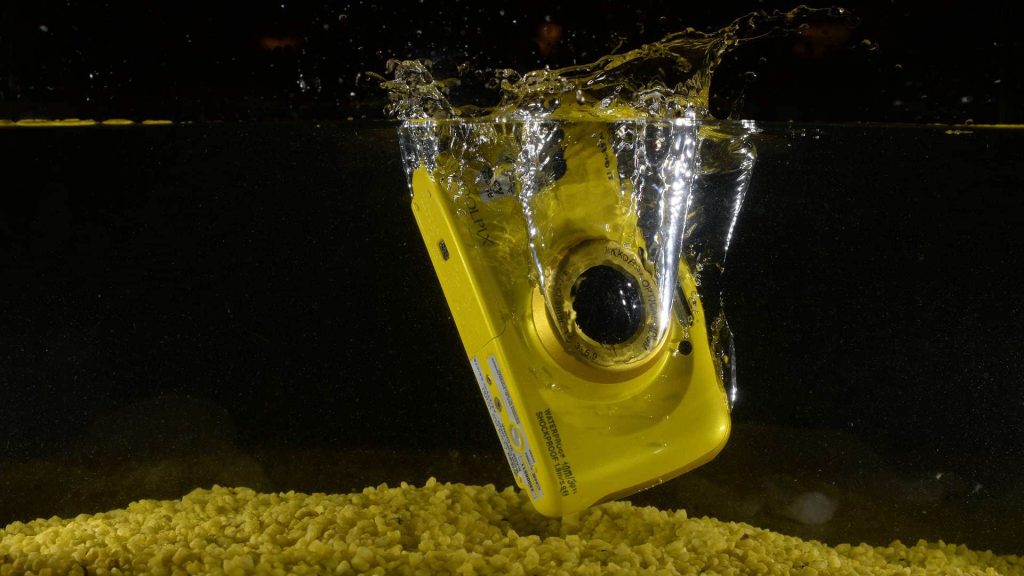
Waterproof cameras are compact and don’t require housing until a certain depth. This makes them a great budget option for underwater photos, and some can be extended with lights, and more.
They are especially popular among snorkelers.
Pros
- Small, lightweight, and compact
- Solid image quality
- Cheap
- No moving parts
Cons
- Image quality lower than higher-tier options
- Often poor video quality
- Usually limited to shallow diving
- Can only be extended with proper housing
Recommendations:
3 Compact cameras
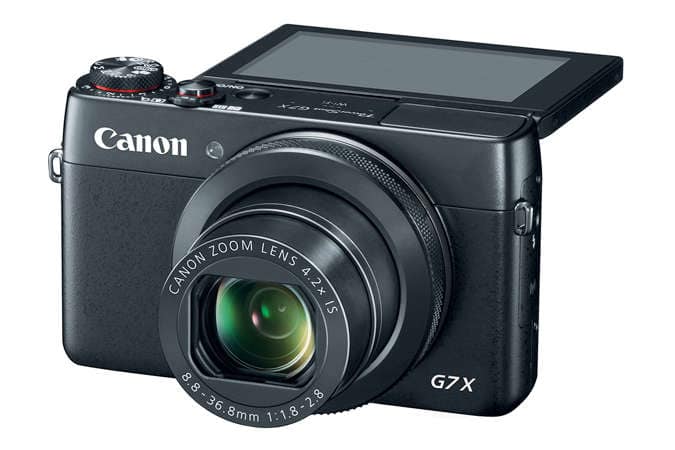
Compact cameras are a great and inexpensive way to get started as an underwater photographer on. budget, but still with plenty of options to build on.
They require proper housing but often come in affordable sets with camera, housing, and even lights.
Pros
- Compact and durable
- Solid image quality
- Affordable
- Lens & body in one
Cons
- Image quality lower than higher-tier options
- Often poor video quality
- Lenses cannot be exchanged
- You will upgrade at one point in the future
Recommendations:
4 Mirrorless cameras
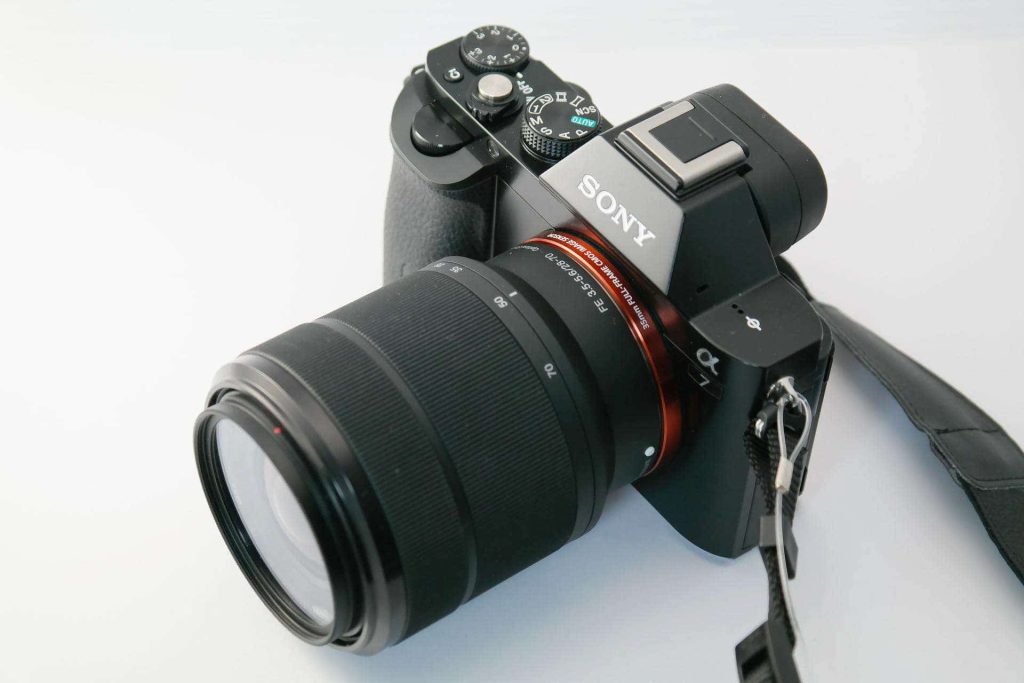
Lightweight, extremely high-quality, and easy to travel with, mirrorless cameras are your best bet if you are serious about your underwater photography hobby but cannot (or don’t want to) buy a professional-grade DSLR.
Nowadays, many full-frame mirrorless cameras even outperform DSLRs and if taking videos is your main focus, these are actually a better choice.
Pros
- Great quality
- Perfect for videos
- Highly extendible
- Starting to outperform DSLRs
- Future-proof
- Smaller size than DSLRs
- Many lens options
Cons
- Not cheap
- Require a full camera-housing-lighting setup
- Professional photographers will still need a DSLR for extreme wide-angle shots
Recommendations:
5 DSLRs
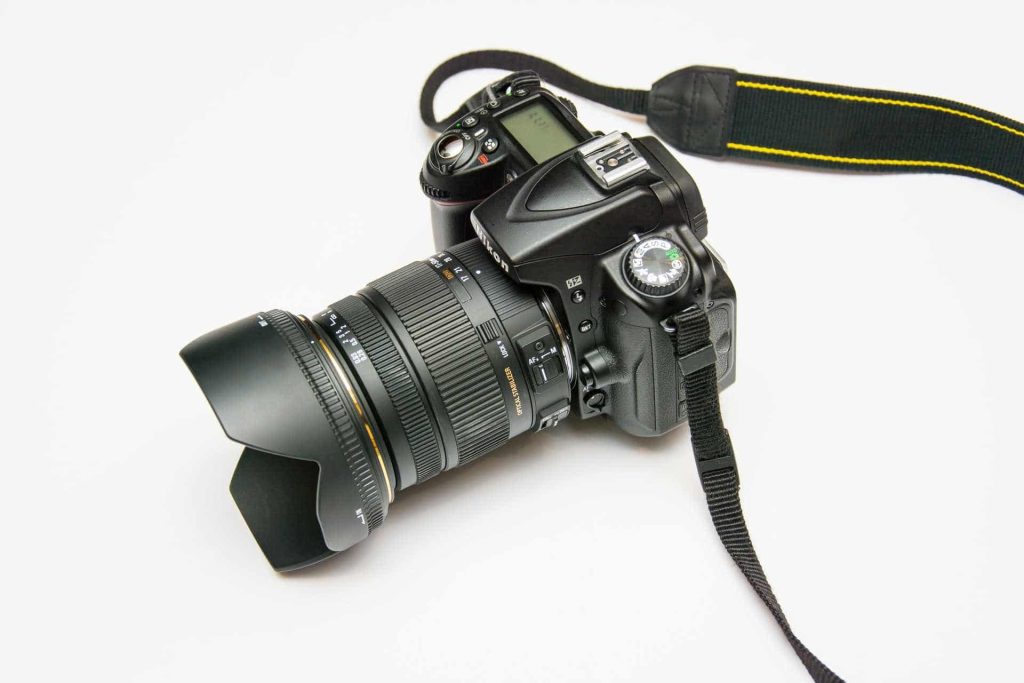
Professional underwater photographers use full-frame DSLR cameras to achieve the highest image quality.
DSLRs have a lot higher processing speed, faster focus, and an even better dynamic range than other options which makes them optimal for shooting fast-moving animals like blue sharks or swordfish.
Pros
- Best image quality
- Super high processing speed
- Highly extendible
- Great dynamic range
- Ultra-fast focus
Cons
- Expensive
- Not for videos
Recommendations:
Which camera to pick for underwater photography
The choice of an underwater camera depends largely on your goals. For quick videos and just capturing your dives, an action camera is sufficient.
If you are on a budget but photography interests you, choose a waterproof camera or compact camera with proper housing and learn the basics before upgrading.
If you know underwater photography is for you, I would recommend a micro 4/3 mirrorless camera and good housing. This setup will last for years to come and offers many lens options.
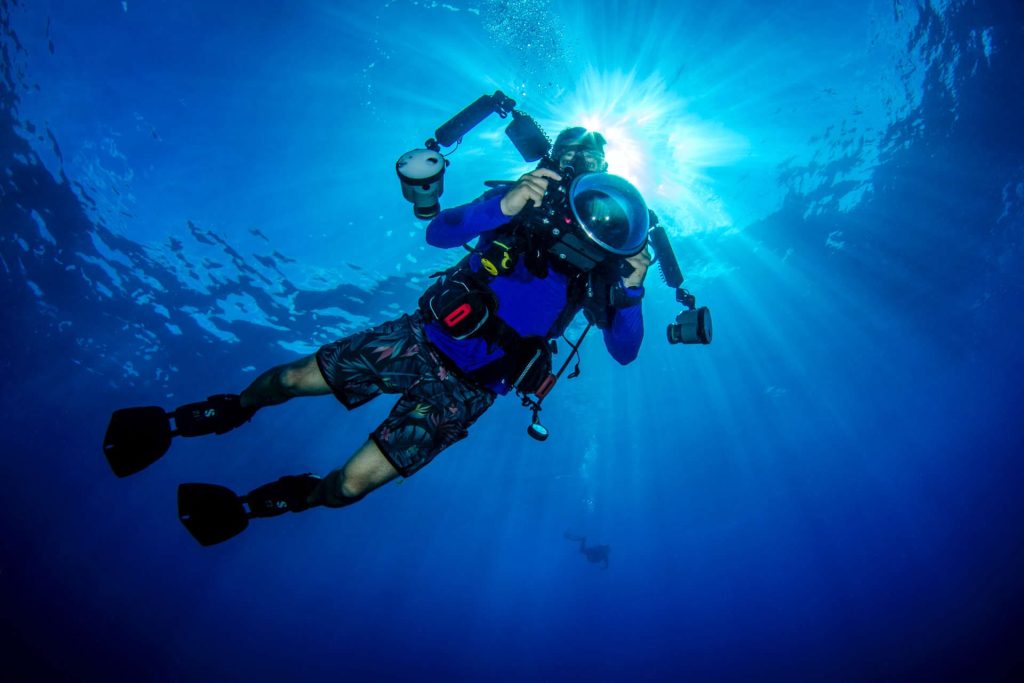
You can then add strobes, more lenses, and cables as needed.
Experienced photographers will eventually move to a full-frame mirrorless or DSLR, however, even then the mirrorless camera you bought before will find good use in certain scenarios
Check out our guide to underwater cameras to find the best camera for you!
Take it step by step
You don’t need a full professional kit when you start out. Upgrading is always possible later and it’s better to improve your skills first.
Underwater Camera Housings
The housing for your camera is just as important as the camera itself. Without it, your precious device can flood or suffer from impact damage and won’t be of much use anymore.
In addition, it serves as the hub to which you connect strobes, lights, extension chords, or arm extends.
There are 3 main types of housings available:
- Polycarbonate (Plastic)
- Acrylic
- Aluminum
Action cam housings are a bit different as they are super cheap and don’t offer the same features as actual camera housings.
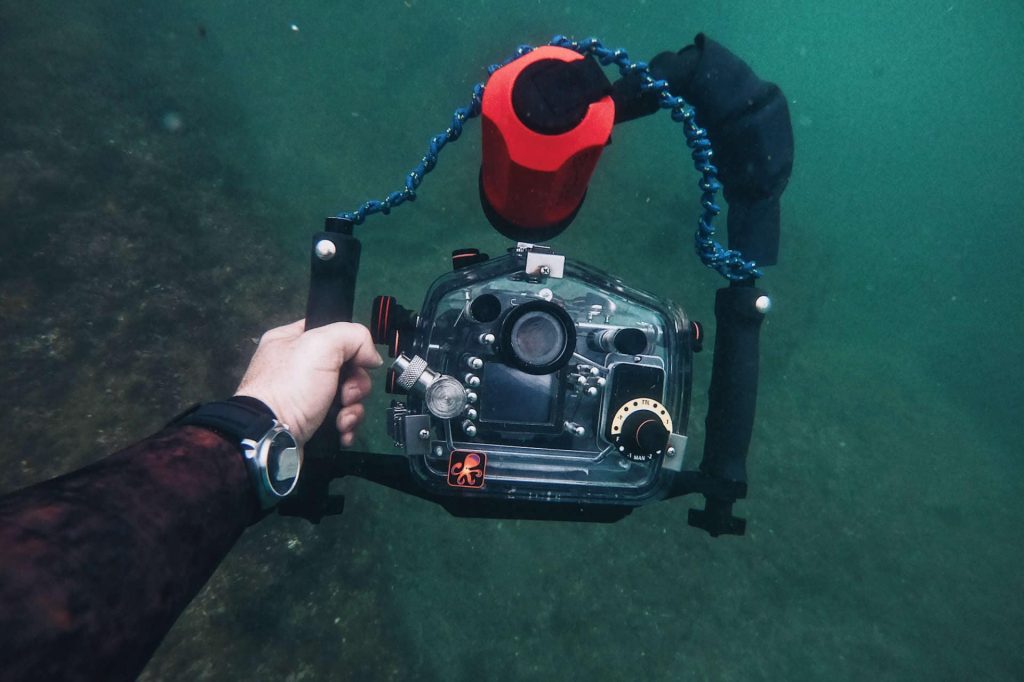
Polycarbonate (Plastic)
Polycarbonate housings are a good way for beginner underwater photographers to get started,
They offer most of the features of acrylic and aluminum housings at a much cheaper rate.
However, port and housing are in usually one piece and cannot be configured separately. This makes them not an optimal choice for mirrorless or DSLR cameras.
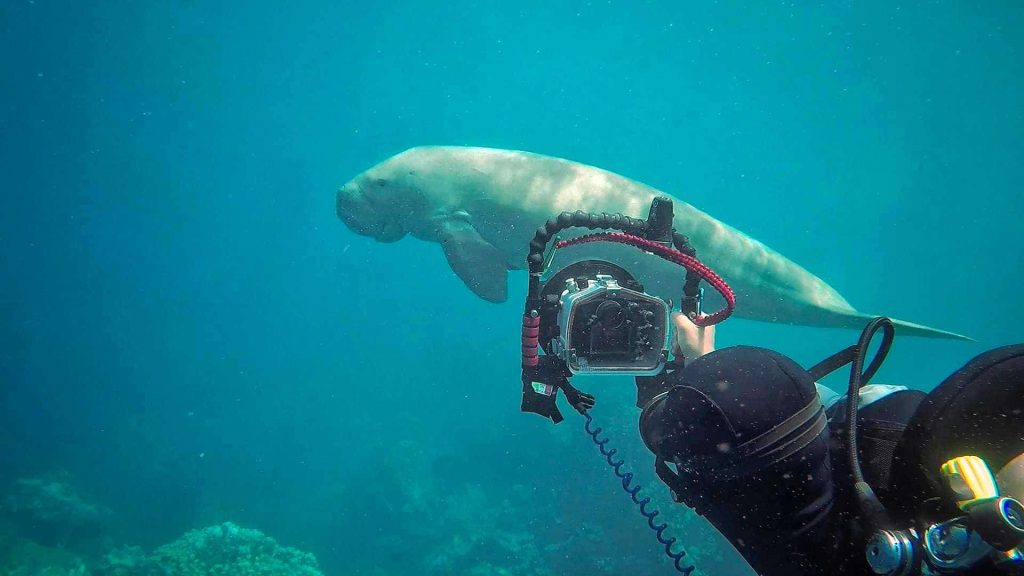
Acrylic
Acrylic housings are a little sturdier than polycarbonate ones, however, many people feel like they are harder to physically operate than the former.
One additional advantage is that housing and ports are separate and you can screw in a macro port or wide-angle ports on the front side or attach your strobes easily.
Aluminum
The most reliable and sturdy out of all the housing types, aluminum cases are unsurprisingly the most expensive ones, as well.
They offer the best protection for the camera inside, are very flood safe, and easy to operate underwater, even with thick gloves.
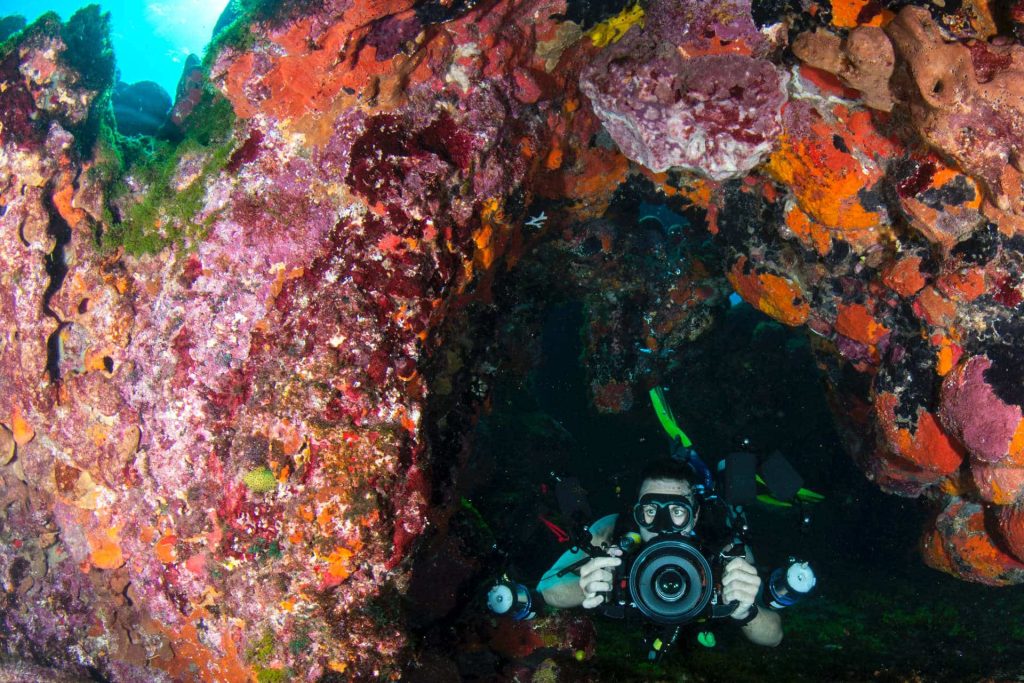
Another reason why aluminum housings are recommended is fogging up or condensation. With polycarbonate ones, you will have to put in dry satchels whereas the aluminum ones work without those.
Which underwater camera housing to pick
A grave mistake is to buy a super expensive camera and then go cheap on the housing. After all, it is what protects the camera underwater and needs to work flawlessly.
If you only do easy reef diving, polycarbonate housing will be sufficient for most compact cameras.
However, once you get into wreck diving, caves, rougher waters, and so on, the aluminum housing is the way to go. This is also true when you buy a mirrorless or DSLR camera, as those usually require separate housing and ports, anyway.
Recommendations:
Check out the guide to underwater camera housings for more recommendations!
Don’t cheap out here
Housing matters. Don’t forget to set aside sufficient budget for the housing or else you precious camera might get flooded.
Underwater Camera Lenses
You can have the best system camera body in the world, but without the proper lenses, you will not take good photos.
As such, a good lens is required and in most cases, you will need multiple ones depending on what kind of photography you like to do.
For those unfamiliar with the concept: System cameras consist of a camera body (“camera”) and a camera lens which are then connected to take photos of objects. The lens can have different parameters and specs depending on the field of use.
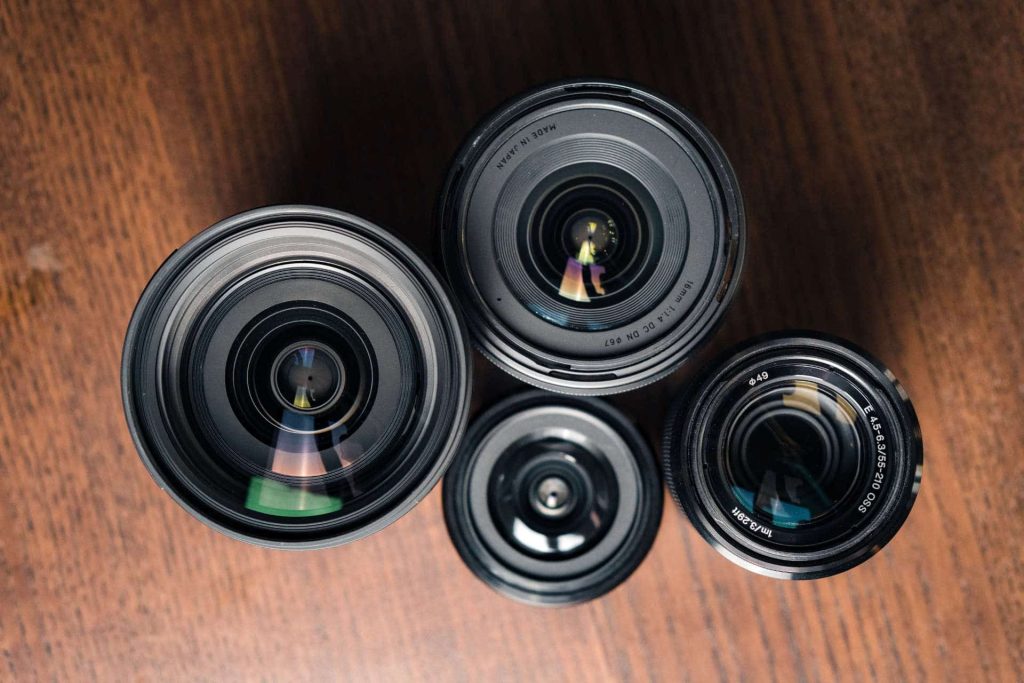
There are different types of lenses for underwater photography:
- Macro
- Wide-angle
- Fisheye Lens (Ultra wide angle)
- Rectilinear Ultra Wide Angle Lens
- “Regular” lenses
Of course, there are even more options out there, but these are the essentials you will come across usually.
Macro Lens
Best for: Small critters, reef organisms
In macro photography, we get really close to whatever we are trying to capture, in order to get the maximum amount of details in our shot.
Macro lenses can focus from very close proximity at a magnification ratio of at least 1:1. This means, that you can get really close to the animal or object at your camera’s closest focusing distance, and the image will still be displayed in its actual size.
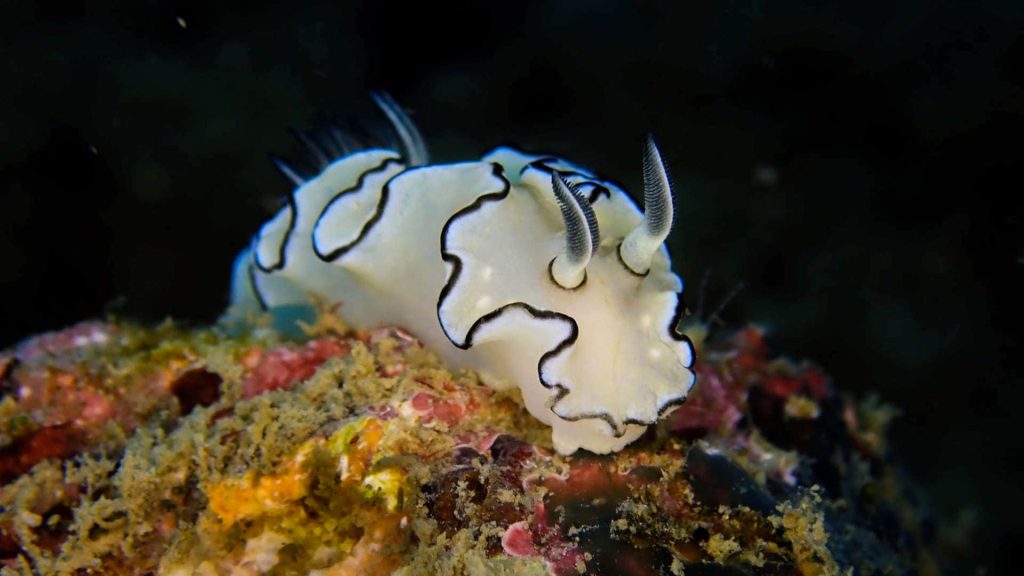
While most lenses won’t focus closer than 30-50cm, even on the widest focal range, macro lenses can do 60mm to 105mm and more. Essentially, we get close and zoom in at the same time while keeping a safe distance to the object.
Please note that a flat port is needed on your housing for macro lenses to increase magnification and improve focus.
Wide-angle lens
Best for: Landscapes, larger objects (wrecks)
General wide angle lenses have a shorter focal length combined with a wide angular field to capture a wider angle from closer distances.
If you have ever seen some of those amazing shots of reefs or larger pelagics in a group, those pictures were taken with wide angle lenses. There are several subtypes like fisheye and rectilinear lenses which are usually preferred for underwater photos.
Fisheye lens
Best for: General underwater photography, over-and-under shots, getting really close to larger objects
Fisheye lenses are a type of ultra wide angle lenses that basically give you 180° of view. While their distortion is often too much for above water, they are great for underwater photography because you can get even closer to the object.
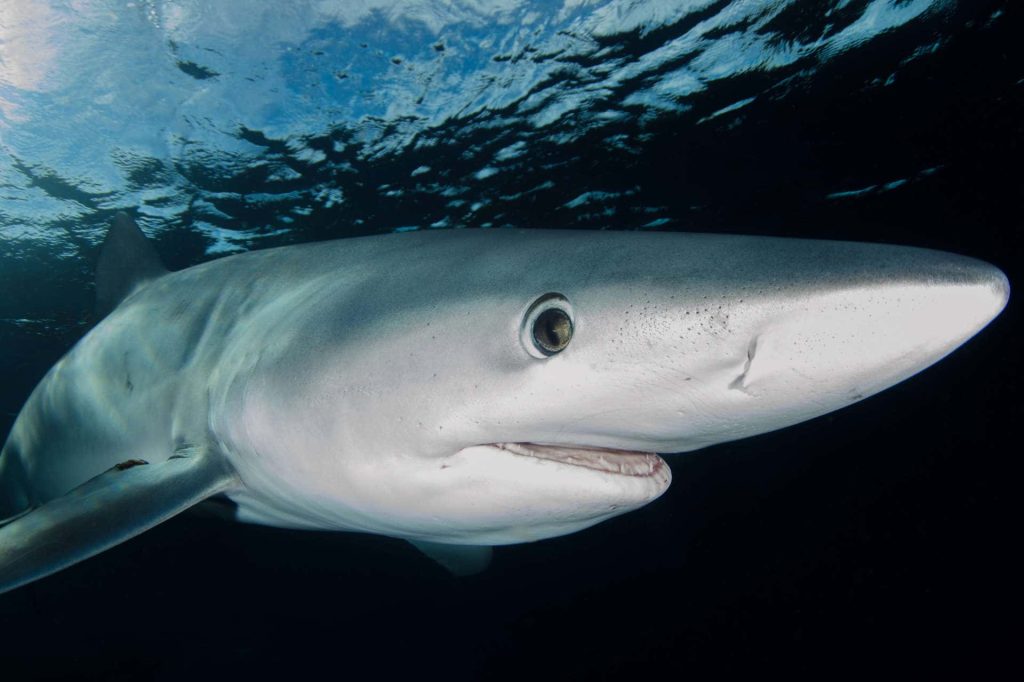
Shortening the distance to your subject improves the sharpness of your images and brings out the maximum amount of details.
Underwater, you want to get in as close as possible for the best images!
This is true, no matter if you try to take a photo of a small critter or a humpback whale.
Last but not least, we all love over-and-under shots and fisheye lenses are your best bet for optimal results here.
Rectilinear lens
Best for: General reefscapes, above and underwater photography
Rectilinear lenses are made ultra wide angles but with less distortion than above-mentioned fisheye ones. They also usually max out at around 120 degrees of view.
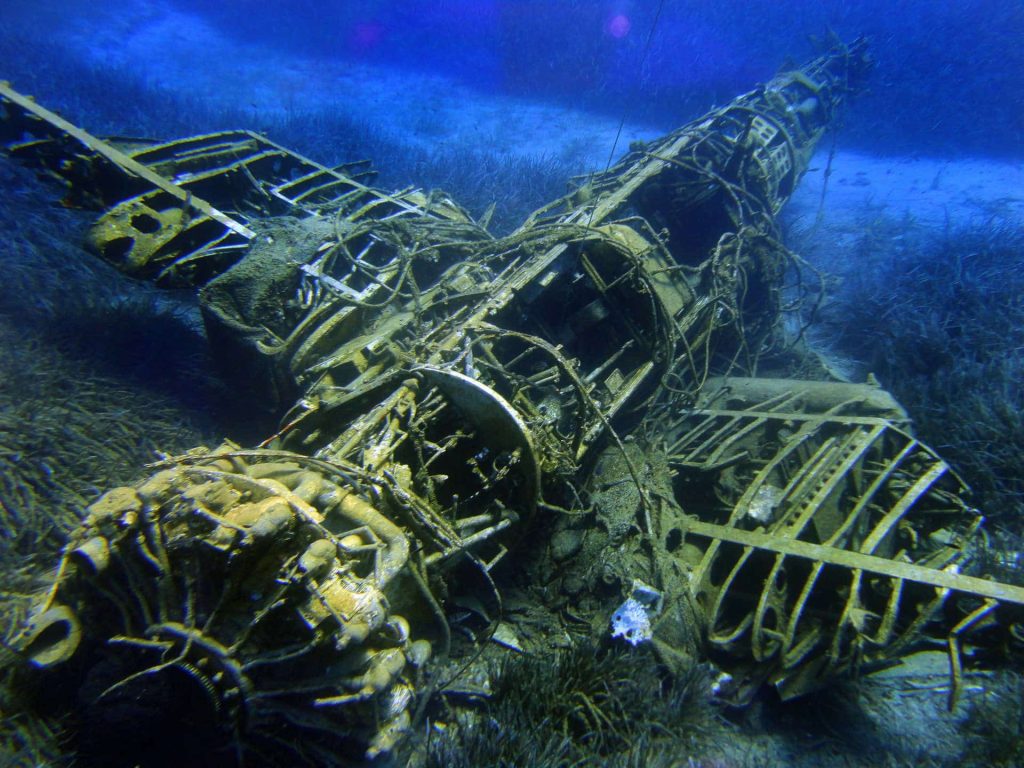
While they are mostly preferred above water, they tend to be less common underwater. This is not to say that they don’t work, and some photographers swear by them. You just cannot get AS CLOSE to the object.
If you only want to buy one ultra-wide angle lens for above and underwater, you should probably go for a rectilinear lens.
Regular lenses
If you are a photographer, you know there are plenty of other lenses out there such as 18-55mm, 18-70mm, 18-135mm, 18-200mm, 50mm, 85mm, 70-200mm, and more.
Of course, you can technically use them underwater, and if you are on a super tight budget, they will work. Don’t forget a wet or dry diopter in that case, though.
However, most of them are inconvenient or inadequate in an underwater environment (due to distortion, refraction, and the need for wider angles), so it’s best to leave them above water.
What’s the best lens for underwater photography?
There is no best lens, and you should pick one according to the type of photography you do. Wide-angle lenses work great for capturing pelagics and impressions of the underwater world, while macro ones allow you to get up close to small critters. Stay away from regular all-purpose lenses as they won’t get you good results while diving.
In most cases, it’s best to get at least one wide-angle lens, and one macro one, as these are the two main scenarios in underwater photography.
Wide-angle photography is generally considered easier than macro, so if you are on a tight budget, opting for the wide-angle is recommended.
Once you have the budget and a bit more experience, you can then get your feet wet (but hopefully not the camera) with macro shots.
Some also start out with a fisheye lens right away to get those super cool ultra-wide-angle shots of your favorite dive sites!
No All-Purpose Lenses
As a recommendation, don’t look for one general purpose “do-it-all” underwater lens. Underwater you either want wide-angle or macro images, so get one of each for that specific purpose.
Strobes & Lights
Sure, a better camera and more expensive lens can give you some better results for your underwater photos.
However, good lighting is what separates the pros from the beginners.
At first, you will probably just use your usual underwater torch and that will work for a while. However, as you get better, a strobe (flash) will really make your images stand out.
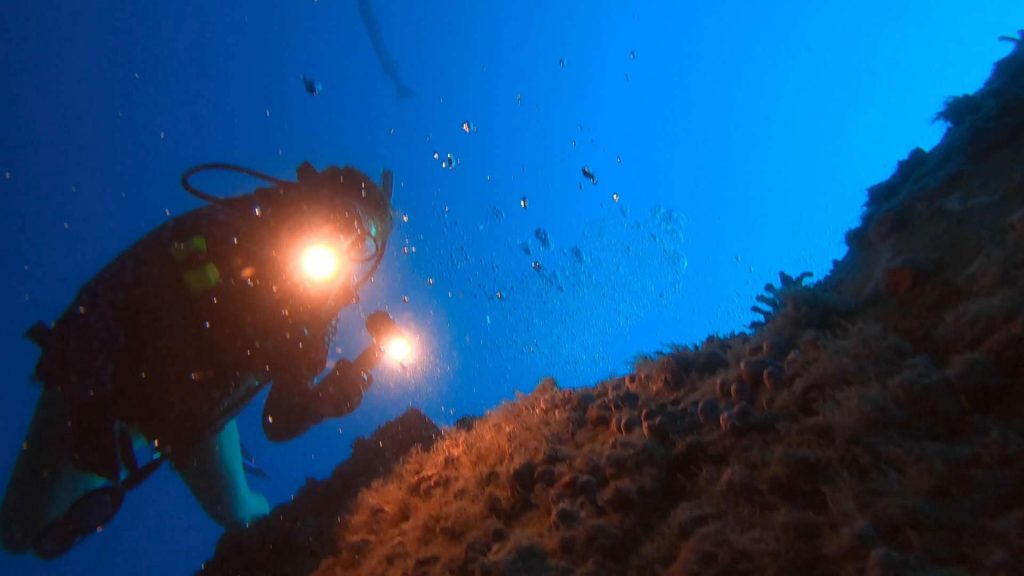
It’s important to first look at your camera and the housing you are using before picking out a strobe for your setup.
Not all strobes will fit on each housing and there are a few more considerations:
Wide angle shots require strobes with more power to cover a distance, whereas with fisheye lenses you will need 2 strobes. If you plan on capturing static objects like wrecks or rock formations, you might place them inside the object and activate them from a distance or play with different colors.
Strobes come in every price class and can be classified by guide number, beam angle, color temperature, recycle time, and focus light, as well as the different types of triggering.
Remember that you will need a fiber optic cable to synchronize the firing of the strobe with your underwater camera.
Other Underwater Photography Gear
As we saw above, besides the essentials like a camera, lens, housing, and good lighting, there are plenty of other items and accessories that you can buy to get even more out of your underwater photography setup.
Let’s look at a few of them quickly:
Buoyancy floats
Buoyancy floats help stabilize heavy camera systems underwater by adding floatation support and prevent buoyancy imbalances while diving.
Flex arms & tripods
Flex arms and tripods allow us to mount the camera further away from us.
Trim weights
Trim weights are used by underwater photographers to balance out the weight of their camera kit and stay buoyant at the same time.
Buoyancy floats are a great alternative though!
O-Rings & extension rings
O-rings are used to make sure our housing is waterproof and to prevent flooding of our precious underwater camera.
Trays & carry handle
Trays and carry handles make carrying and holding the camera system much easier.
Where to buy your underwater photography equipment
These are our three favorite places to buy underwater photography equipment online:
Amazon
Amazon is great for electronics, and you can buy most cameras here at super competitive prices.
Housingcamera.com
Housingcamera.com is my goto place for all my underwater photography needs. They have all the big names and brands in their inventory, great live support and super nice package deals.
Moreover, their knowledge base is top-notch and you will find a load of useful articles on photography and equipment.
Dive Right in Scuba
For more casual and beginner underwater photographers, Dive Right in Scuba (DRIS) is a great place to buy your first camera set. Their support is great and shipping rates low.
DRIS is also among our list of the best shops to buy scuba gear from.
Further Reading
Here are a few further links you might like:
- Our scuba gear hub
- All our reviews
- The best underwater cameras
Conclusion
This concludes our ultimate guide to underwater photography in 2026. As you see, there is a lot to it and the possibilities are endless.
To get started, all you need is an inexpensive action camera or maybe just your phone with a case.
As you get more experience, you will eventually want to switch to a system camera setup with different lens options, housing, strobes, and more shiny gear.
Remember though: Have fun whenever you take photos!
If you have any questions, leave them in the comments!